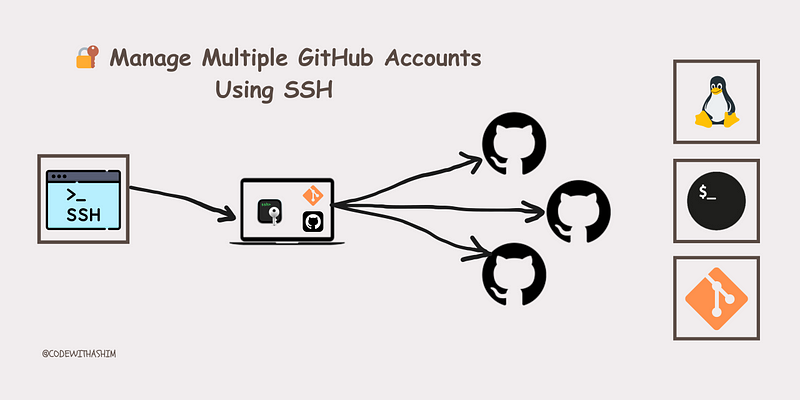
Optimize Your Workflow: Configuring Multiple GitHub Accounts on a Single Machine with SSH

In a development environment where you juggle both personal and work GitHub accounts, managing multiple SSH keys can seem daunting. However, with the right configuration, you can easily switch between accounts without hassle. This guide will walk you through the steps to set up and manage multiple GitHub accounts on the same machine using SSH.
Step 1: Generate SSH Keys for Each GitHub Account
To keep your personal and work GitHub accounts separate, you’ll need to generate unique SSH keys for each account. Follow these steps:
- Open Terminal or Command Prompt:
On Windows: Use Git Bash or Command Prompt.
On macOS or Linux: Use Terminal.
2. Generate SSH Keys:
Run the following commands to create SSH keys for each account. Be sure to replace the email addresses with those associated with your GitHub accounts.
For Personal GitHub Account:
ssh-keygen -t rsa -b 4096 -C "personal.email@example.com" -f ~/.ssh/id_rsa_personal
For Work GitHub Account:
ssh-keygen -t rsa -b 4096 -C "work.email@example.com" -f ~/.ssh/id_rsa_work
You’ll be prompted to enter a passphrase. This adds an extra layer of security but is optional. If you choose to set a passphrase, remember it, as you’ll need it each time you use the SSH key.
Step 2: Add SSH Keys to Your GitHub Accounts
Next, you need to add each public SSH key to the corresponding GitHub account.
- Open Your GitHub Account Settings:
Log in to GitHub.
Go to Settings → SSH and GPG keys.
2. Add Your Public Key:
Click New SSH key.
Enter a descriptive title (e.g., “Personal Laptop” for your personal key, “Work Laptop” for your work key).
Open the public key file (
~/.ssh/id_rsa_personal.pubor~/.ssh/id_rsa_work.pub) with a text editor and copy its content.Paste the content into the “Key” field and click Add SSH key.
Repeat these steps for each GitHub account using the corresponding public key.
Step 3: Configure SSH to Use the Correct Key
Create an SSH configuration file to specify which SSH key to use for each GitHub account.
- Edit the SSH Config File:
- Open the SSH config file in a text editor. If it doesn’t exist, create it.
nano ~/.ssh/config
- Add the following configuration:
# Personal GitHub account
Host github.com-personal
  HostName github.com
  User git
  IdentityFile ~/.ssh/id_rsa_personal

# Work GitHub account
Host github.com-work
  HostName github.com
  User git
  IdentityFile ~/.ssh/id_rsa_work
- Save and close the file. If using
nano, pressCTRL + X, thenYto confirm, andEnterto save. If usingvim, pressEsc, type:wq, and pressEnter.
2. Set Correct Permissions:
Ensure the SSH config file has the appropriate permissions:
chmod 600 ~/.ssh/config
Step 4: Clone Repositories Using the Correct Alias
When cloning repositories, use the aliases specified in your SSH config file.
- Clone a Personal Repository:
git clone git@github.com-personal:username/repo-name.git
- Clone a Work Repository:
git clone git@github.com-work:username/repo-name.git
Step 5: Test Your SSH Configuration
Verify that your SSH keys are set up correctly by testing the connection to GitHub.
- Test Personal GitHub Key:
ssh -T git@github.com-personal
- Test Work GitHub Key:
ssh -T git@github.com-work
You should see a message like:
“Hi username! You’ve successfully authenticated, but GitHub does not provide shell access.”
Conclusion:
By following these steps, you can seamlessly manage multiple GitHub accounts on the same machine. Using separate SSH keys and configuring your SSH client ensures a clean separation between personal and work-related projects. This setup not only improves security but also enhances productivity by streamlining your workflow.
Feel free to follow for more tips and guides.
Happy coding! 😊